An LCD (Liquid Crystal Display) screen is a popular display option for Arduino projects, as it can display text and graphics with low power consumption. In this blog, we will discuss how to display text on an LCD screen using an Arduino UNO.
Components Required
Before we dive into the programming aspect of this project, let’s first discuss the components required to make this project:
- Arduino UNO
- LCD screen (16×2 or 20×4)
- Potentiometer (10kΩ)
- Breadboard
- Jumper wires
- USB cable
Wiring
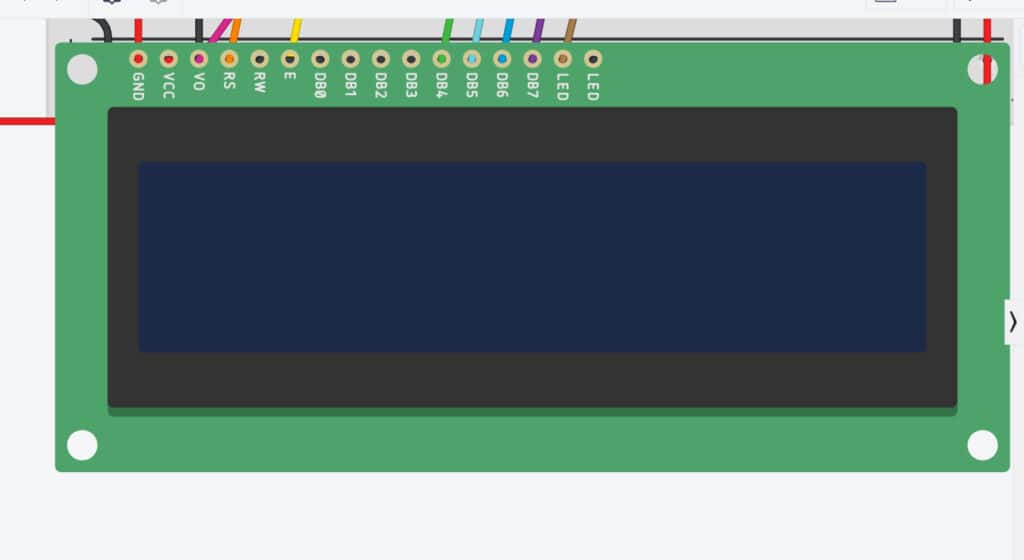
The first step is to wire the components together. Connect the LCD screen to the Arduino UNO as follows:
- VSS pin of the LCD screen to the GND pin of the Arduino UNO
- VDD pin of the LCD screen to the 5V pin of the Arduino UNO
- V0 pin of the LCD screen to the middle pin of the potentiometer
- RS pin of the LCD screen to pin 12 of the Arduino UNO
- RW pin of the LCD screen to the GND pin of the Arduino UNO
- E pin of the LCD screen to pin 11 of the Arduino UNO
- D4-D7 pins of the LCD screen to pins 5-8 of the Arduino UNO
- A pin of the potentiometer to the 5V pin of the Arduino UNO
- B pin of the potentiometer to the GND pin of the Arduino UNO

Programming
Now that the wiring is complete, let’s move on to the programming part. The first step is to include the LiquidCrystal library in the Arduino IDE. To do this, go to Sketch > Include Library > LiquidCrystal.
Next, we will initialize the LCD screen in the setup function. We will define the number of columns and rows of the LCD screen and the pins that we have connected the LCD screen to. The code for initializing the LCD screen is as follows:
#include <LiquidCrystal.h>

// initialize the library with the numbers of the interface pins
LiquidCrystal lcd(12, 11, 5, 6, 7, 8);

void setup() {
  // set up the LCD's number of columns and rows:
  lcd.begin(16, 2);
}
After initializing the LCD screen, we can display text on it using the lcd.print() function. The code for displaying “Hello, World!” on the LCD screen is as follows:
void loop() {
  lcd.setCursor(0, 0);
  lcd.print("Hello, World!");
}
In the above code, we set the cursor position to (0, 0) using the lcd.setCursor() function, which means that the text will start from the first row and first column of the LCD screen. Then we print the text “Hello, World!” on the LCD screen using the lcd.print() function.
We can also display text on different rows and columns of the LCD screen using the lcd.setCursor() function. The first parameter of the lcd.setCursor() function is the column number (starting from 0), and the second parameter is the row number (starting from 0). The code for displaying “Hello” on the first row and “World!” on the second row of the LCD screen is as follows:
void loop() {
  lcd.setCursor(0, 0);
  lcd.print("Hello");
  lcd.setCursor(0, 1);
  lcd.print("World!");
}
We can also clear the LCD screen using the lcd.clear() function. The code for clearing the LCD screen is as follows:
void loop() {
  lcd.clear();
  lcd.setCursor(0, 0);
  lcd.print("Hello, World!");
}
In the above code, we first clear the LCD screen using the lcd.clear() function and then display the text “Hello, World!” on the LCD screen.
We can also create a custom character on the LCD screen using the lcd.createChar() function. The code for creating a smiley face on the LCD screen is as follows:
byte smiley[8] = {
  B00000,
  B10001,
  B00000,
  B00000,
  B10001,
  B01110,
  B00000,
};

void setup() {
  // create a new character
  lcd.createChar(0, smiley);
}

void loop() {
  lcd.setCursor(0, 0);
  lcd.write(byte(0));
  lcd.setCursor(1, 0);
  lcd.print("Smiley Face");
}
In the above code, we first define the byte array for the smiley face character. The byte array represents the pixels of the character, where each row represents one byte. We then create the smiley face character using the lcd.createChar() function. The first parameter of the function is the index of the character (0-7), and the second parameter is the byte array representing the pixels.
We can then display the smiley face character on the LCD screen using the lcd.write() function. The lcd.write() function takes a byte as its parameter, which represents the index of the character. In the above code, we pass byte(0) as the parameter to display the smiley face character.
References:
- Arduino LiquidCrystal Library: https://www.arduino.cc/en/Reference/LiquidCrystal
- How to use an LCD Display: https://www.arduino.cc/en/Tutorial/HelloWorld
- Creating custom characters on an LCD Display:
- Arduino UNO: https://www.arduino.cc/en/Guide/ArduinoUno


Aw, this was an incredibly nice post. Taking a few minutes and actual effort to generate a really good article… but what can I say… I procrastinate a lot and never manage to get anything done.