Before we begin, let’s have a quick look at the components that we will be using in this project.
Components Required
- Arduino Uno Board
- LCD Display (16×2 or 20×4)
- Potentiometer (10K ohm)
- Jumper Wires
Step 1: Wiring the LCD Display to the Arduino Uno
The first step is to connect the LCD display to the Arduino Uno. For this, we will be using jumper wires to connect the pins on the LCD display to the pins on the Arduino Uno.
Here is a table showing the pin configuration for the LCD display:
| LCD Pin | LCD Function | Arduino Pin |
|---|---|---|
| 1 | GND | GND |
| 2 | VCC | 5V |
| 3 | V0 (Contrast) | Potentiometer (middle pin) |
| 4 | RS | Digital pin 12 |
| 5 | RW | GND (for write mode) |
| 6 | EN | Digital pin 11 |
| 7 | D0 | Not used |
| 8 | D1 | Not used |
| 9 | D2 | Not used |
| 10 | D3 | Not used |
| 11 | D4 | Digital pin 5 |
| 12 | D5 | Digital pin 4 |
| 13 | D6 | Digital pin 3 |
| 14 | D7 | Digital pin 2 |
| 15 | LED + | 220 ohm resistor to 5V |
| 16 | LED – | GND |
The LCD display has 16 pins, but we will be using only 8 pins for this project. The other pins are either not used or connected to GND or 5V.
The V0 pin is used to adjust the contrast of the display. For this, we will use a 10K ohm potentiometer. Connect the middle pin of the potentiometer to the V0 pin on the LCD display. Connect one of the other pins to GND and the other to 5V.

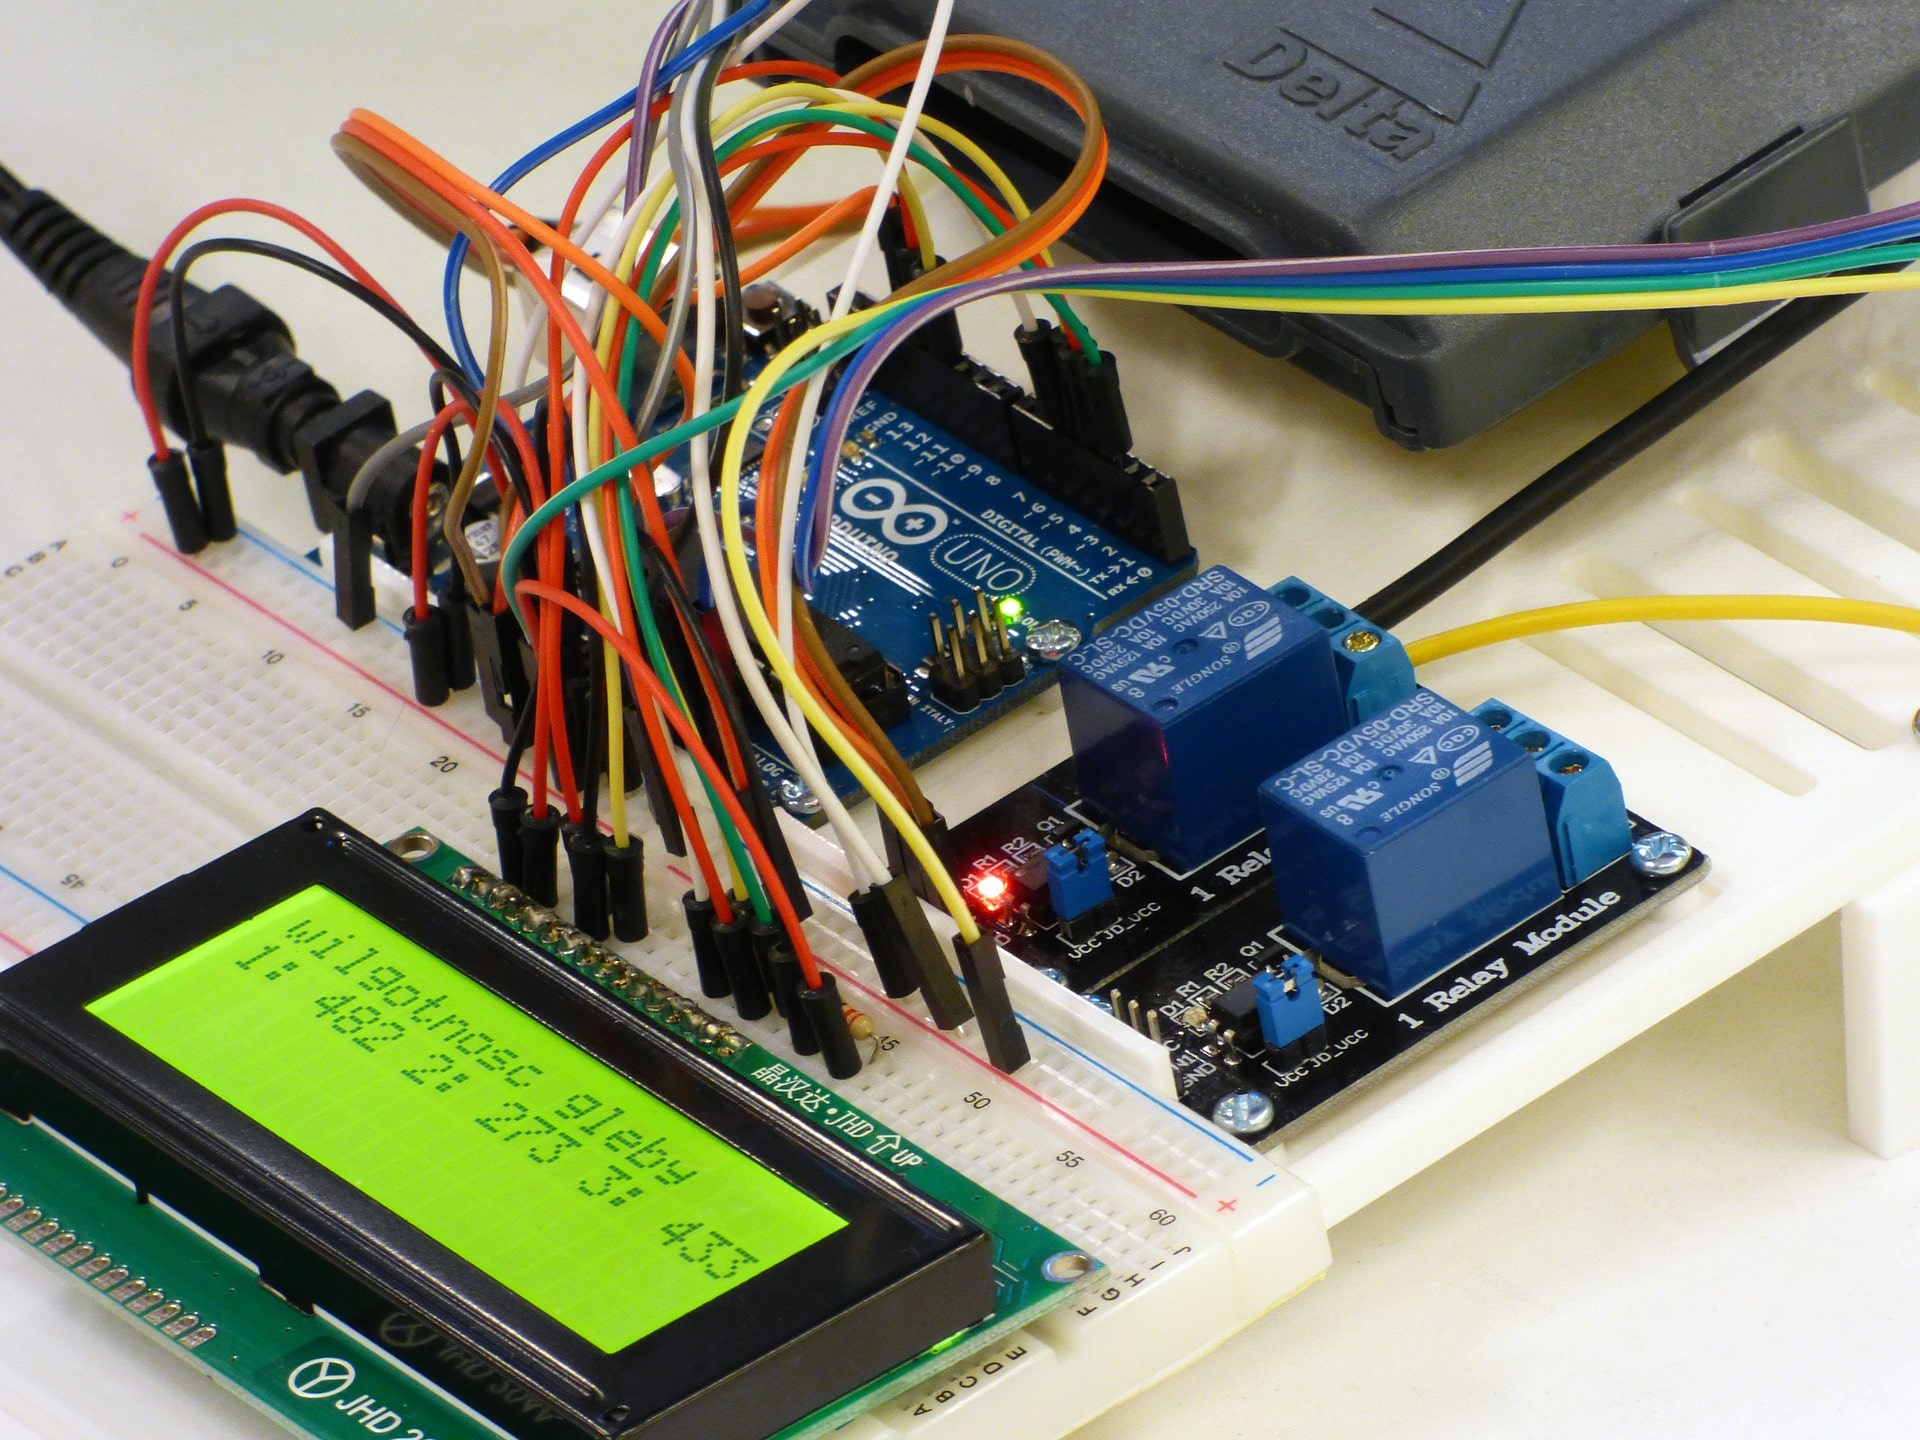
Once you have made all the connections, your circuit should look something like this:
Step 2: Installing the LCD Library
To control the LCD display, we need to install the LiquidCrystal library. The library can be installed using the Library Manager in the Arduino IDE. Here are the steps to install the library:
- Open the Arduino IDE
- Click on “Sketch” in the menu bar
- Click on “Include Library”
- Click on “Manage Libraries”
- In the “Library Manager” search bar, search for “LiquidCrystal”
- Select the “LiquidCrystal” library from the list of results
- Click on “Install”
Step 3: Writing the Code
Now that we have installed the LiquidCrystal library, we can start writing the code. Here is a simple example code that will display “Hello World!” on the LCD display:
#include <LiquidCrystal.h>

// initialize the library with the numbers of the interface pins
LiquidCrystal lcd(12, 11, 5, 4, 3, 2);

void setup() {
    // set up the LCD's number of columns and rows
    lcd.begin(16, 2);
    // Print a message to the LCD.
    lcd.print("Hello World!");
}

void loop() {
    // Do nothing here...
}
Let’s go through this code step by step:
- We first include the LiquidCrystal library using the #include directive.
- We create an instance of the LiquidCrystal class called “lcd”. We pass in the pin numbers for RS, EN, D4, D5, D6, and D7 in that order.
- In the setup function, we initialize the LCD display by calling the begin method. We pass in the number of columns and rows of the display (16 and 2, respectively, for a 16×2 display).
- Finally, we print the message “Hello World!” on the LCD display using the lcd.print() method.
You can modify the message that is displayed on the LCD display by changing the argument of the lcd.print() method. For example, you can change it to display your name or any other message you like.
Step 4: Uploading the Code
Once you have written the code, you can upload it to the Arduino Uno board. Here are the steps to upload the code:
- Connect your Arduino Uno board to your computer using a USB cable.
- Open the Arduino IDE and select the correct board and port under the “Tools” menu.
- Click on the “Upload” button to upload the code to the board.
Step 5: Testing the LCD Display
If everything has been done correctly, you should see the message “Hello World!” on the LCD display. If you don’t see anything, check your connections and make sure that the contrast of the display has been properly adjusted using the potentiometer.
You can now modify the code to display any message you like on the LCD display. You can also experiment with different display configurations, such as changing the number of columns and rows or using a different type of LCD display.